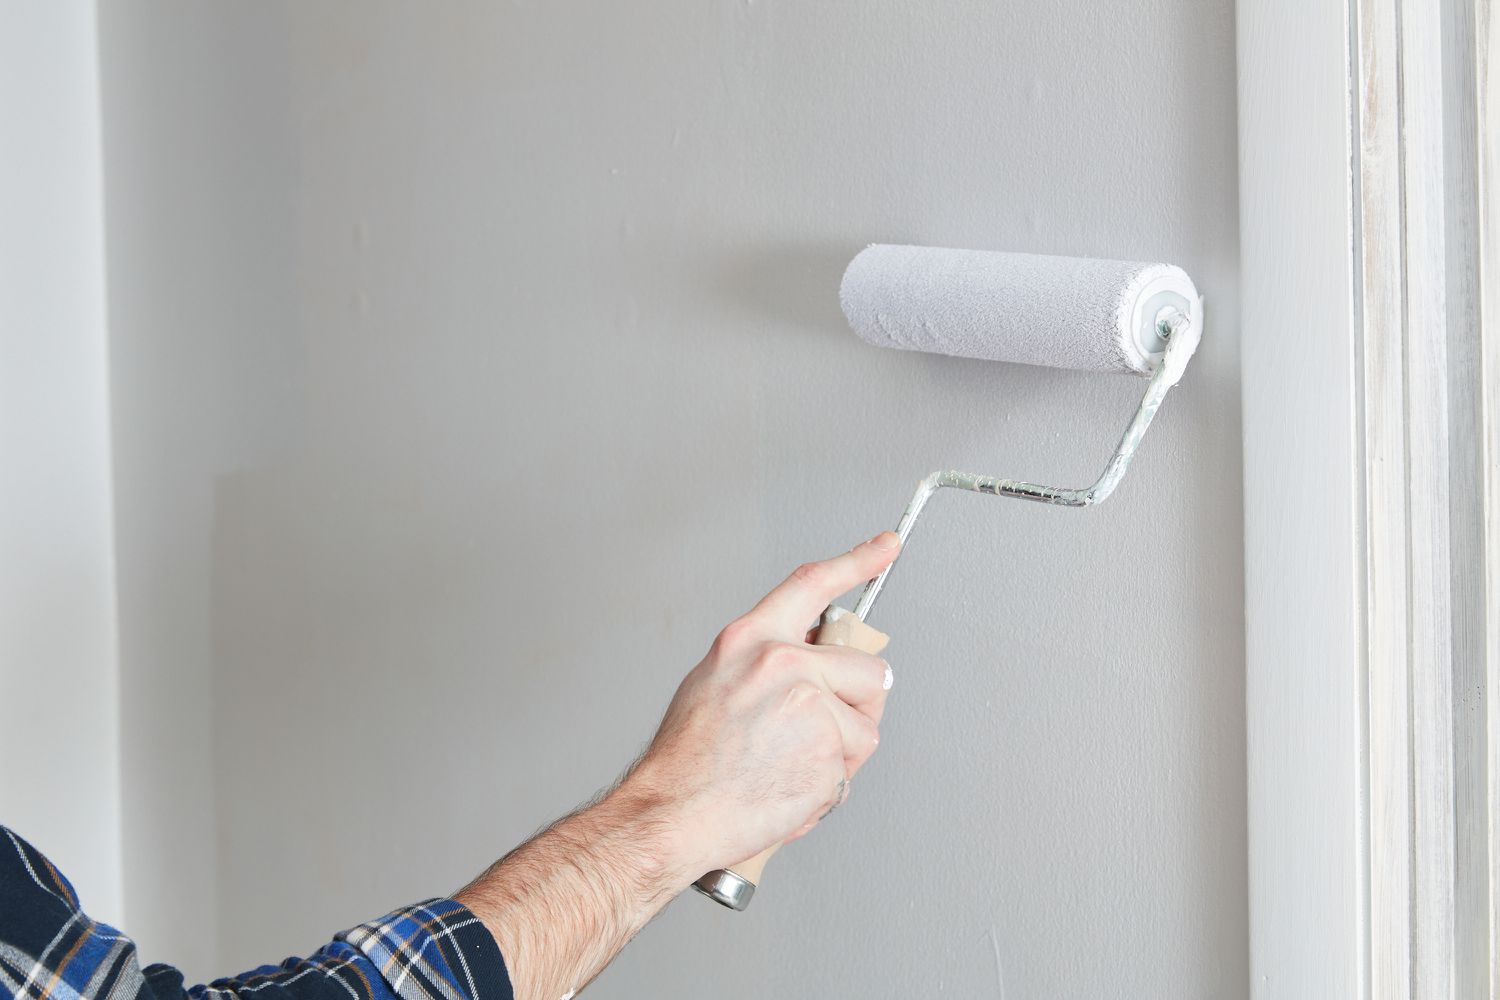
When browsing the paint aisle, it’s easy to overlook the rows of primer nestled alongside vibrant paint options. However, primer is a crucial component in achieving a flawless finish on your surfaces. Its main purpose is to prepare the area for painting, ensuring that the final coat adheres properly and looks its best.
Not every exterior painting task requires primer, and knowing when to use it can save you time and frustration. Let’s explore the essentials of primer, including when it’s necessary and how to select the right type for your project.
When is Primer Essential?
There are specific scenarios where using primer is vital to ensure a smooth and professional-looking paint job, especially if you’re preparing for seasonal painting. Here’s when you should definitely include it:
- Stained or Damaged Walls If your walls have water stains or discoloration, these imperfections can bleed through lighter paint colors. A quality stain-blocking primer is key to achieving a uniform finish and preventing unsightly marks from showing.
- New Materials For fresh surfaces like drywall, wood, or metal, primer is indispensable. These materials tend to absorb more paint, so applying a primer not only seals the surface but also minimizes the number of paint coats needed.
- Covering Dark Colors If you’re painting over a deep hue, like burgundy or navy, primer can drastically reduce the number of layers required for full coverage. A good primer allows you to achieve a solid color more efficiently.
- Glossy Finishes Surfaces with a shiny finish can pose adhesion problems for new paint. Applying primer helps create a rougher texture that allows the new paint to grip better, leading to a more durable finish.
- Wallpapered Walls Whether you’re painting over existing wallpaper or removing it, primer is necessary to create a smooth surface. It helps conceal any rough patches that may remain after wallpaper removal.
- Changing Paint Types When switching from latex to oil-based paints (or vice versa), primer ensures that the new paint adheres properly. If you’re uncertain about the existing paint type, using primer is a safe bet.
Types of Primers: An Overview
Not all primers are the same. The three primary types—oil-based, latex, and shellac—offer distinct benefits and are suited for specific applications.
Oil-Based Primer Known for its robust stain-blocking capabilities, oil-based primer is highly durable and ideal for exterior surfaces. However, it comes with a longer drying time, typically around 24 hours, and contains volatile organic compounds (VOCs) that can affect indoor air quality.
- Pros: Excellent at covering stains, durable for high-traffic areas, withstands temperature changes.
- Cons: Long drying period, difficult to clean up, contains high VOC levels.
Latex Primer A more eco-friendly option, latex primers are water-based and have lower VOC content. They dry quickly—around 3 to 4 hours—and are suitable for various surfaces, including softwoods and masonry. However, they might struggle with heavy stains.
- Pros: Quick drying, versatile for different surfaces, low VOC emissions, easy to clean.
- Cons: Not ideal for blocking strong stains, may need testing on wood.
Shellac Primer Shellac is the go-to choice for tough jobs, especially indoors. It dries quickly (often within an hour) and excels at sealing surfaces and blocking stains. However, it has strong fumes and higher VOCs, necessitating good ventilation during use.
- Pros: Rapid drying, effective at covering tough stains, compatible with various surfaces.
- Cons: High VOCs and strong odor, requires ventilation, may need thinning.
Preparing the Surface for Primer
Before applying primer, proper surface preparation is crucial for a successful paint job. This process may vary based on the material and environment but is essential for achieving lasting results.
- Clean the Surface For outdoor areas, use a pressure washer or hose to remove dirt and old paint. Indoors, clean surfaces with a damp cloth, sponge, or sandpaper.
- Repair Damage Inspect for dents, holes, or rust spots. Fix any issues before priming to ensure a smooth finish.
- Seal and Caulk Check the seals around windows, doors, and vents. Re-caulking these areas creates a clean surface for the primer and paint.
- Protect Surrounding Areas Use drop cloths and painter’s tape to shield anything you don’t want to get paint on, such as plants and furniture.
- Start Priming Apply primer evenly across the surface, ensuring complete coverage. Depending on the job, one coat may suffice, but additional layers might be necessary.
Choosing the Right Primer for Your Project
Selecting the appropriate primer involves understanding the surface and the type of paint you intend to use. If you’re uncertain, consulting with knowledgeable staff at your local hardware store can guide you toward the best choice.
For those who prefer a professional touch, Truecraft Construction is available to handle your home painting projects with expertise and precision. We ensure that every detail is addressed, resulting in a beautifully finished space.


