When unexpected rain showers hit Orange County, the last thing you want to discover is water dripping from your ceiling. As a homeowner, few situations create more immediate stress than a leaking roof during rainfall. At Truecraft Construction, we understand the urgency of these situations and have helped countless Orange County residents protect their homes from water damage.
As a GAF-certified roofing contractor with an A rating from the Better Business Bureau, we’ve compiled our professional expertise into actionable solutions you can implement immediately when facing a roof leak emergency. Understanding professional roof repair services helps you determine when DIY solutions are sufficient and when professional intervention becomes necessary.
Don’t let roof leaks damage your Orange County home. Call our emergency response team at (714) 340-5848.
7 Professional Solutions for Emergency Roof Leak Repair
1. Locate the Exact Entry Point
Effective roof leak repair begins with proper identification of the water’s entry point. Many homeowners mistakenly address only the visible interior damage without tracing the leak to its true source.
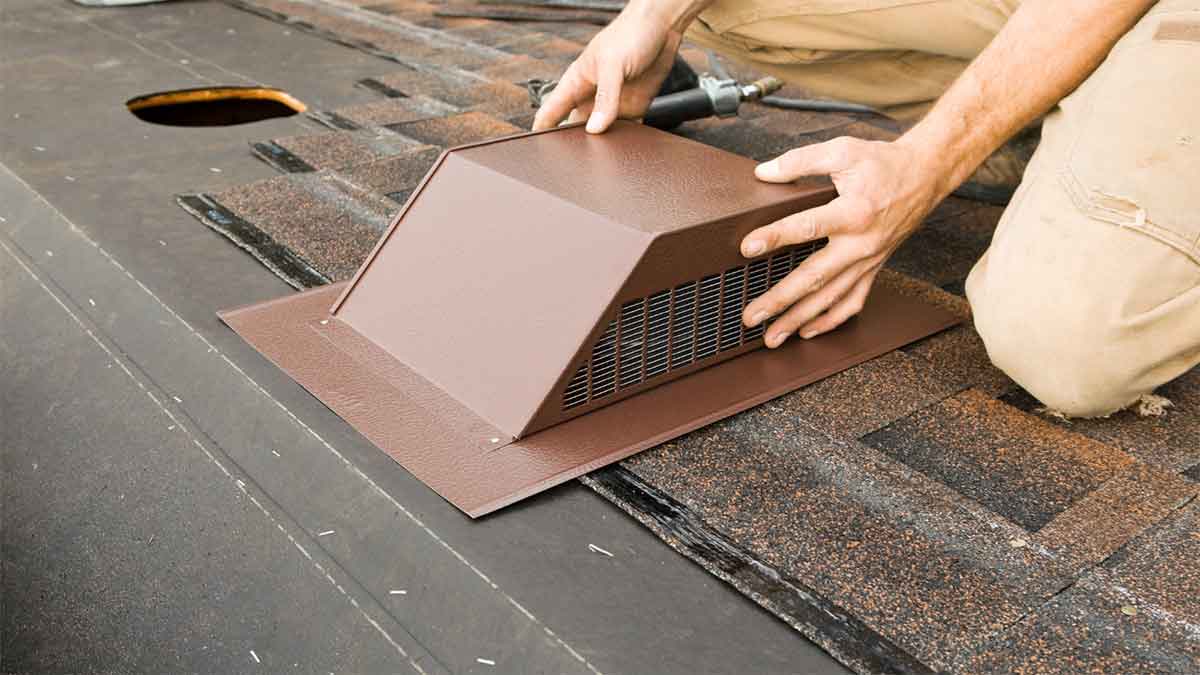
Start your inspection in the attic, using a flashlight to look for water stains, mold, or discoloration on rafters and decking. In Orange County homes, we frequently find that leaks originate at roof penetrations like vents, chimneys, or skylights rather than in the middle of roofing sections.
For accurate identification, consider that water often travels from its entry point before appearing on your ceiling. This “travel path” can make locating the true source challenging without professional assessment. Learning about common roof problems and signs of damage helps homeowners understand typical leak patterns and entry points.
2. Create a Temporary Collection System
Once you’ve identified where water is entering your home, implement a temporary collection system to minimize interior damage while preparing for repairs.
For ceiling leaks:
- Place buckets or waterproof containers beneath drip points
- Create a water diversion system using plastic sheeting angled toward collection containers
- Move valuable furniture and electronics away from leak zones
- Use towels or moisture-absorbing materials around collection containers to catch splatter
Pro tip from our Orange County technicians: Use painter’s tape to mark water stains when dry, allowing you to monitor if the leak is worsening or spreading during subsequent rainfall.
For guaranteed leak-free results, schedule a professional roof inspection with our GAF-certified technicians today.
3. Apply Professional-Grade Roofing Sealant
For accessible roof leaks, applying a high-quality roofing sealant provides effective temporary protection until permanent repairs can be completed.
Unlike standard roofing tar, modern polymer-based sealants offer superior flexibility and adhesion even in wet conditions. These specialized products can be applied during active rainfall to create an immediate watertight barrier.
When applying sealant:
- Clean the area as thoroughly as possible
- Apply the sealant generously beyond the damaged area
- Use a putty knife to press the sealant into cracks and gaps
- Allow proper curing time according to manufacturer specifications
Many Orange County homes experience leaks around flashing and roof penetrations where sealant application proves particularly effective as both emergency and preventative maintenance. Understanding advanced leak detection technologies for precision roof repairs can help identify these vulnerable areas before emergency situations arise.
4. Deploy Weatherproof Membrane Barriers
For situations where the leak source remains elusive or spans a larger area, deploying weatherproof membrane barriers offers comprehensive temporary protection.
Self-adhering weatherproof membranes provide advantages over traditional polyethylene plastic:
- Stronger adhesion to roof surfaces
- Greater puncture and tear resistance
- UV-stabilized materials to prevent degradation
- Flexibility to conform to roof contours
When installing membrane barriers:
- Measure the affected area plus a 3-4 foot buffer zone
- Secure edges with roofing nails or appropriate fasteners
- Apply pressure to eliminate air pockets
- Extend material over ridges when possible for maximum protection
Given Orange County’s occasional high winds during rainstorms, proper securing of membrane barriers is essential to prevent further damage.
5. Replace Damaged Roofing Materials
When visible damage to shingles, tiles, or other roofing materials is identified, prompt replacement prevents progressive water intrusion and structural damage.
Before attempting replacement:
- Assess weather conditions for safety
- Wear appropriate protective gear including non-slip footwear
- Gather necessary tools including pry bars, hammers, and replacement materials
- Work methodically from the bottom up when replacing multiple shingles
For Orange County’s diverse roofing styles:
- Spanish tile requires careful handling to prevent breakage
- Composition shingles need proper nail placement and quantity
- Metal roofing systems demand appropriate fastening techniques
- Flat roof materials require specific sealing methods
Professional assessment is recommended for extensive damage or specialty roofing materials common in premium Orange County neighborhoods. Understanding the differences between comparing spot repairs vs section replacement helps determine the most cost-effective approach for your specific situation.
Orange County homeowners trust our expert team for Spanish tile, composition shingle, and metal roofing repairs. Protect your investment with Truecraft Construction’s manufacturer-backed permanent roof repairs.
6. Install Emergency Roof Tarping Systems
For significant leaks requiring professional intervention, implementing a properly secured tarp system provides effective temporary protection for your home’s interior.
Professional tarping techniques include:
- Using heavy-duty, UV-resistant tarps (minimum 6-mil thickness)
- Securing tarps beyond the damaged area by at least 4 feet in all directions
- Creating proper water runoff channels to direct moisture away from vulnerable areas
- Using sandbags or concrete blocks rather than nails when possible to minimize additional penetrations
Orange County homeowners should be particularly mindful of proper tarp installation given the region’s occasional strong winds and concentrated rainfall patterns. Learning from professional roof repair advice in California helps determine when emergency tarping is sufficient and when immediate professional assistance is required.
7. Address Vulnerabilities at Roof Intersections
Roof valleys, dormers, chimneys, and vent penetrations represent common leak sources, particularly in Orange County’s custom home designs with architectural complexity.
For intersection leaks:
- Apply appropriate flashing compatible with your roofing system
- Use commercial-grade sealants specifically formulated for roof joints
- Inspect and clear debris that could trap moisture at intersection points
- Consider installing specialized guards or shields at high-vulnerability areas
These intersection points require particular attention during both emergency repairs and routine maintenance to prevent future leaks. Understanding the hidden dangers of postponing roof repairs in coastal Orange County emphasizes why addressing these vulnerabilities quickly prevents more serious structural damage.
Trust Orange County’s Roofing Experts for Permanent Solutions
While these emergency measures help mitigate immediate damage, permanent professional repair ensures long-term protection for your Orange County home. As one of ABC Supply’s fastest-growing roofing contractors and a 2024 Neighborhood Fave on Nextdoor, Truecraft Construction delivers roofing solutions backed by manufacturer warranties and certified expertise.
Our Orange County roofing specialists provide:
- Emergency leak response services
- Comprehensive roof inspection and assessment
- Manufacturer-backed repair solutions
- Preventative maintenance programs
For homeowners throughout our service areas, our Huntington Beach roofing team and Garden Grove roofing services provide rapid emergency response and long-term solutions tailored to coastal climate challenges.
When emergencies strike, understanding how to create a roof maintenance calendar helps prevent future leak situations through proactive care and seasonal inspections.
Don’t let a roof leak compromise your home’s integrity or your family’s comfort. When you need reliable emergency response and permanent solutions, residential roofing contractor Truecraft Construction combines rapid response with lasting quality. Contact our Orange County roofing team today at (714) 340-5848 for immediate assistance with roof leak emergencies or to schedule a professional assessment.


